Mineral scale quietly builds inside a coffee machine, especially when hard water leaves chalky deposits around the boiler and pipes. The first signs may seem minor: slower brewing, unusual noise, lukewarm coffee, or a bitter taste. Ignoring them can strain the heating system and reduce extraction quality. Learning how to descale a coffee machine correctly helps protect both performance and flavor.
This guide presents seven practical tips based on common manufacturer instructions and real cleaning routines. It explains how to check the machine, choose a suitable descaling solution, follow the correct cycle, and rinse every internal channel thoroughly. Always read the user manual first. Some machines require a specific formula, while others warn against vinegar because it may damage seals or leave a strong smell. Small details matter.
Use fresh water. Measure the solution carefully. Do not rush the rinse.
A useful approach also includes observing the machine after cleaning. Does water flow smoothly? Does the coffee taste normal? Is the warning light still active? These checks can reveal an incomplete process. Descaling is not a guaranteed cure for every problem, and I have sometimes treated stubborn residue as the only cause when a blocked filter was responsible. Careful inspection prevents that mistake. With the right method and a little patience, regular descaling can support safer operation, steadier temperature, and better-tasting coffee.
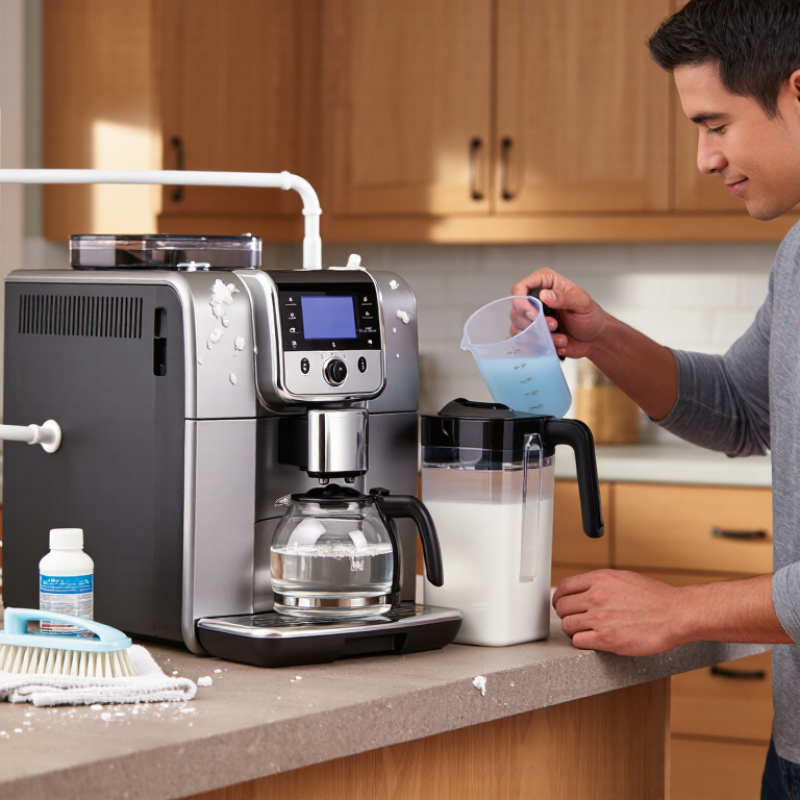
Tip 1: Let the coffee machine cool completely before descaling. Hot water can cause burns and sudden steam release. Unplug the machine and move it to a dry, stable surface. Remove the portafilter, drip tray, and water filter if fitted.
Tip 2: Read the machine’s care instructions before adding any solution. Different internal parts may require different descaling methods. Use only a suitable, food-safe descaler, mixed with the correct amount of water. Never combine cleaning chemicals. Keep a cloth nearby because small spills are easy to miss.
Tip 3: Empty the water tank and check for visible residue. Coffee oils around the brewing area can affect cleaning results. Open the steam wand carefully, if present, and make sure its tip is clear. I usually place a large container under every outlet before starting. It prevents splashing and protects the counter.
Tip 4: Keep the room ventilated, especially when using a strong-smelling solution. Follow the recommended contact time instead of guessing. Too little time may leave mineral scale behind. Too much may stress internal seals. This is where I sometimes hesitate, because a longer soak feels more effective, but it is not always safer.
Tip 5: Run the descaling cycle without coffee inside the machine. Watch the flow and stop if unusual noise, leaking, or a burning smell appears. Do not force a blocked valve. Contact a qualified service professional when the instructions are unclear.
Tip 6: Rinse the tank thoroughly, then run several cycles with clean water. Taste and smell matter. If either seems unusual, rinse again before brewing. Tip 7: Dry removable parts separately and reinstall them only after inspection.
| Step | Preparation or Descaling Tip | What to Do | Safety and Practical Guidance |
|---|---|---|---|
| 1 | Check the operating instructions | Confirm whether the machine has a built-in descaling program, a removable water tank, or a specific descaling procedure. Follow the instructions for the machine before adding any solution. | Different machines may require different solution concentrations, cycle times, and rinsing procedures. Do not guess the dosage when the instructions provide a specific amount. |
| 2 | Switch off and cool the machine | Turn the machine off, disconnect it from the power supply, and allow hot components and water to cool before preparing it for descaling. | Cooling reduces the risk of burns from hot water, steam, and heated metal parts. Never handle the water tank or brew components immediately after brewing. |
| 3 | Remove coffee remnants | Empty the filter basket, capsule holder, grounds container, and drip tray where applicable. Remove loose coffee grounds from the brew area. | Coffee residue can affect the cleaning process and may leave an unpleasant taste after descaling. Keep electrical connectors and the machine housing dry. |
| 4 | Prepare the descaling solution | Use a descaler intended for coffee machines and mix it with water exactly as directed on the product instructions. If the machine instructions permit it, use the stated water volume. | Do not mix descaling products with bleach, detergents, or other chemicals. Avoid using household acids unless the machine instructions specifically allow them, because materials and seals can differ. |
| 5 | Run the descaling cycle correctly | Place a sufficiently large, heat-resistant container beneath the coffee outlet and hot-water or steam outlet. Start the machine’s descaling program, or follow the manual’s stated sequence. | Keep the container stable and do not leave the machine unattended if the process requires manual emptying. The liquid discharged during descaling should not be consumed. |
| 6 | Rinse the water circuit thoroughly | Empty and rinse the water tank, refill it with clean water, and run the complete rinsing process recommended for the machine. Repeat the rinse if any acidic smell or taste remains. | Adequate rinsing helps remove remaining descaler from internal water pathways. Do not brew coffee until the rinse cycle has been completed. |
| 7 | Clean, reassemble, and check the machine | Wash removable parts with clean water, empty the collection container, reinstall the components, and check that water flows normally before making coffee. | Inspect for leaks, unusual noise, warning lights, or restricted flow. Disconnect the machine and seek qualified service if a fault continues after descaling. |
Important: Descaling removes mineral deposits from the water system; it is not a substitute for routine cleaning of coffee oils, removable parts, or milk systems. The safest procedure is always the one specified for the particular machine type.
Turn off the machine and remove the water filter, if fitted. Empty the drip tray and grounds container. Use the approved solution at its exact dilution. Never guess the ratio.
Place a large container under every coffee and hot-water outlet. Keep watching the machine while the cycle runs. Prevent the container from overflowing.
Yes, pauses between flushes can be normal. Follow the display prompts or care instructions. Some machines require opening and closing a steam control.
Empty the used solution completely. Rinse the reservoir under clean running water. Fill it with fresh drinking water, then run the full rinse cycle.
Run at least one complete rinse, unless the instructions require more. Two rinses are often safer. I once stopped when the water looked clear, but a sharp smell remained.
Yes, operate the hot-water outlet and steam wand separately. Solution can remain inside narrow passages. Wipe the nozzle with a clean, damp cloth afterward.
Use a clean glass to check the water. It should have no chemical smell, unusual taste, or persistent foam. If anything remains, run another rinse.
Test your water hardness with a strip and record the result. Use suitable filtered water when needed. Empty the drip tray often, and keep the tank covered when unused. Better records would make the next cleaning date less of a guess.
Do not over-descale. Excessive treatment may stress seals and internal parts. If unusual taste, slow flow, or noise continues, stop using the machine and check its care instructions.
Learning how to descale a coffee machine correctly helps maintain its performance, improve coffee flavor, and extend its service life. Before starting, switch off and unplug the machine, remove any remaining coffee or water, and check that the drip tray and water tank are ready for cleaning. Choose a suitable descaling solution and mix it with water according to the product instructions or the machine’s general requirements. Using the correct ratio is important because an overly strong mixture may damage internal parts, while a weak solution may not remove mineral deposits effectively.
Run the descaling cycle step by step, allowing the solution to pass through the machine as directed. Once the cycle is complete, empty the container and rinse the water tank thoroughly. Run one or more fresh-water cycles to remove all residual solution before making coffee again. To prevent future limescale buildup, use clean water, empty leftover water regularly, and descale the machine at suitable intervals based on usage and water hardness.

 Sophia Electric Appliance